The complete key map for each version, showing all modifier layers and dead key compositions.
Hold Shift or Option to preview modifier layers. Click a yellow dead key to see its compositions. Press Esc to go back.
A keyboard layout is a map that tells your Mac which character should appear on screen when you press a physical key. The same key can produce y on a US layout or z on a German layout — the layout, not the keycap, decides. EurKEY Next is one such map.
Install it once, switch to it like any other input source, and your keys now produce accented characters (ä, é, ñ, č, …) and programmer symbols without reaching for a character palette.
Without EurKEY you flip between three input sources — US, German, Spanish — and dig through a popup every time you need an ä, é, or ñ.
Stay on one layout. Type ⌥u then a → ä. Write English code normally. Reach ⌥n n → ñ. English letters behave exactly like a US layout; accents live one keystroke away on the Option layer.
A dead key produces nothing on its own — it waits for the next keystroke and combines with it. Type the dead key, release, type the base letter, and the combined character appears. For example ⌥' (acute) followed by e → é. Every macOS European layout works this way; EurKEY just makes the dead keys predictable and programmer-friendly.
No. It is a standard macOS keyboard-layout bundle, installed the same way Apple's built-in layouts are. Once added, it shows up next to "U.S." in your input source list and works system-wide in every app.
No. English letters behave exactly as on a US layout. The accent characters and special symbols sit on a separate Option layer — reach them by holding ⌥. You never lose access to plain English.
Those are for maintainers building and validating the bundle. End users never run them — install via Homebrew or the DMG and you're done.
Type accented characters (ä, é, ñ, č, …) using intuitive Option-key combinations. No character palette needed.
Built for ISO MacBooks, fully compatible with ANSI keyboards. All characters remain accessible via dead keys.
Ships EurKEY Next, v1.4, v1.3, and v1.2 in a single bundle. Pick the one that fits your workflow.
Download the DMG, drag the bundle to Keyboard Layouts, log out. Done in under a minute.
Run brew install eurkey-next in your terminal.
Log out and back in (or restart) so macOS picks up the new layout.
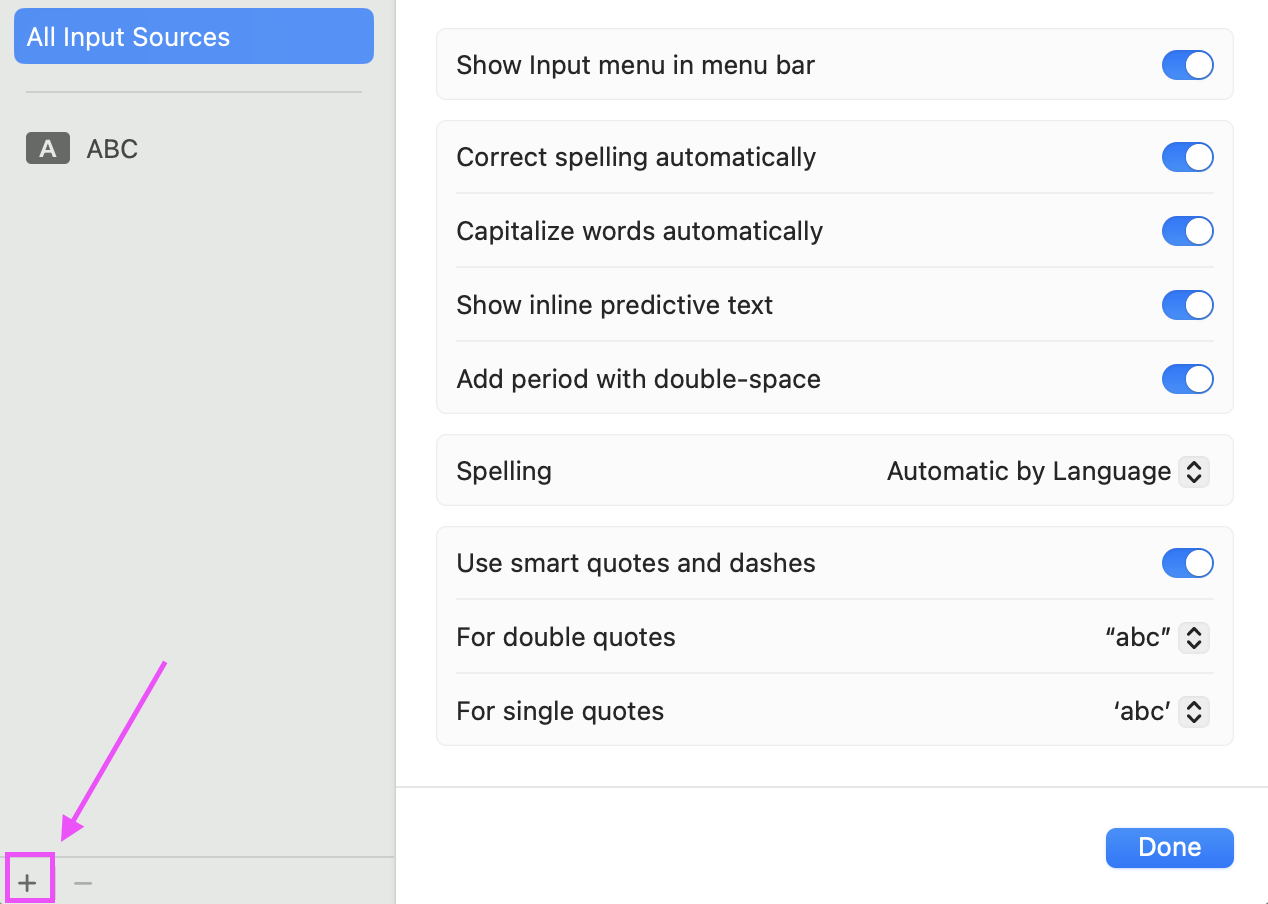
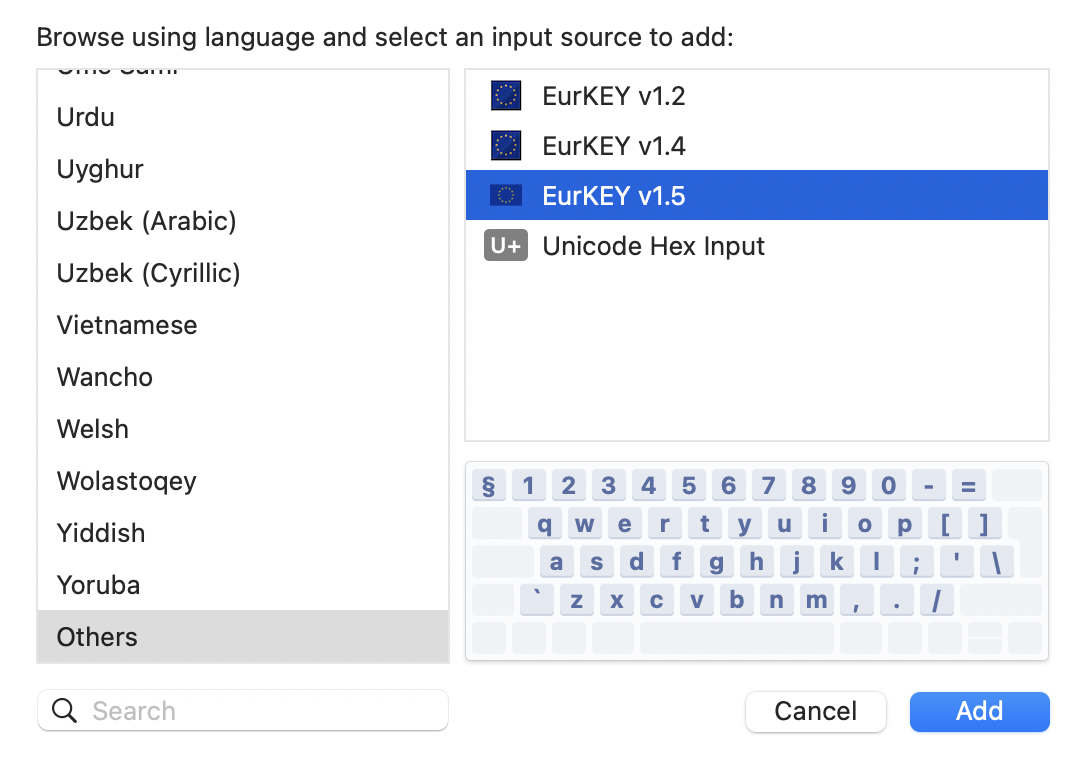
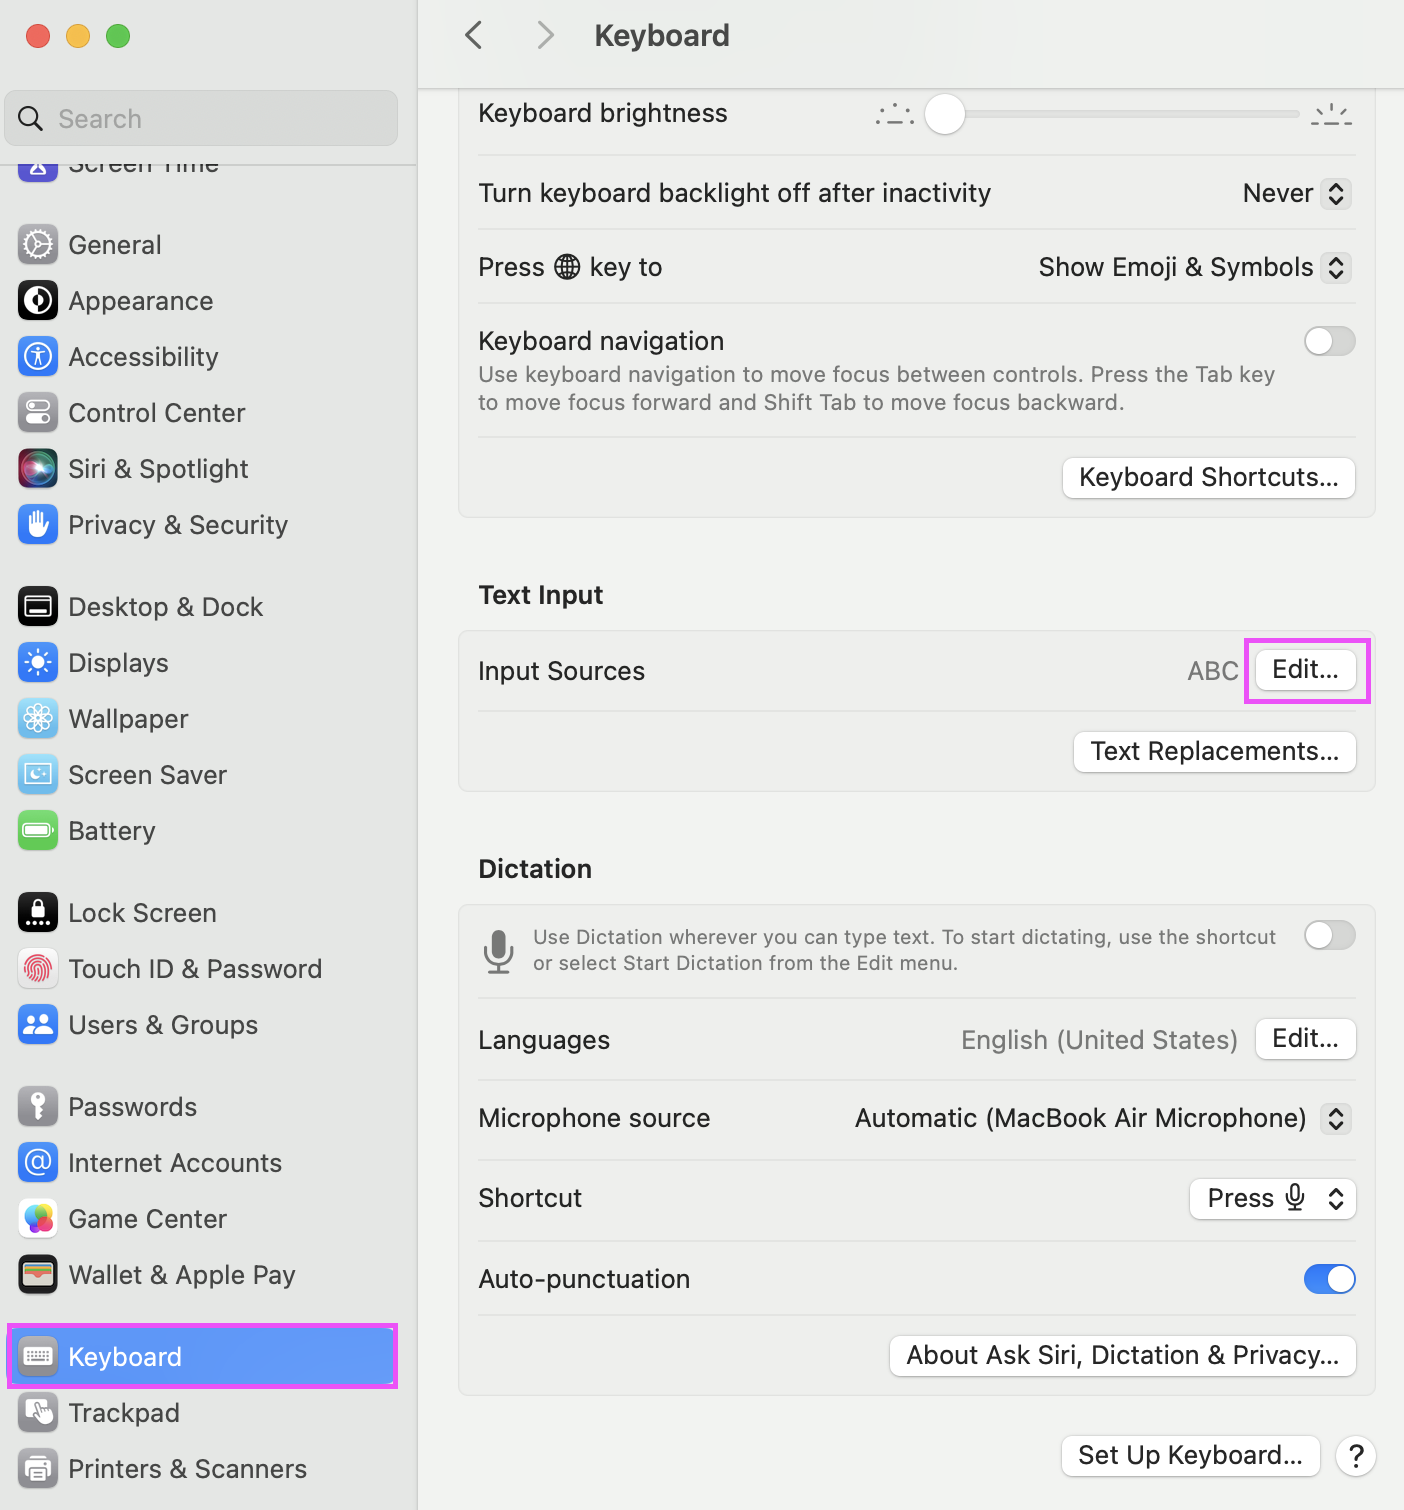
Open System Settings → Keyboard → Input Sources. Click Edit…, then + to add a new input source. Search for "EurKEY Next" and select it.
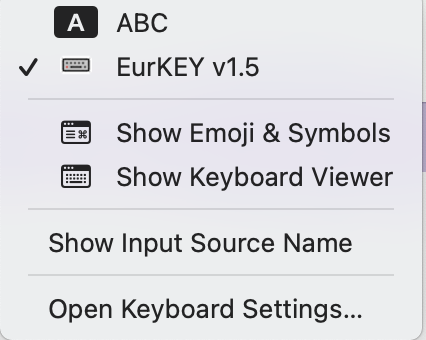
Click the input source icon in the menu bar and switch to EurKEY Next.
Get the latest .dmg from GitHub Releases. Open it and drag EurKEY-Next.bundle to the Keyboard Layouts folder.
Log out and back in (or restart) so macOS picks up the new layout.
Open System Settings → Keyboard → Input Sources. Click Edit…, then + to add a new input source. Search for "EurKEY Next" and select it.
Click the input source icon in the menu bar and switch to EurKEY Next.